How to Set Up a Video Conferencing System in an Office
A reliable office video conferencing setup requires more than connecting a camera to a television. Display placement, camera coverage, microphone pickup, lighting, network performance and user controls must work together.
The planning process should begin with the room and the people using it.
Step 1: Define the Room Type
Identify whether the space is:
- Personal office
- Small huddle room
- Medium meeting room
- Large boardroom
- Training room
- Multi-purpose room
Record the room dimensions, seating capacity and table shape.
Step 2: Select the Meeting Platform
Determine which platform the organisation will normally use.
Also consider whether employees regularly receive invitations from clients using other platforms.
The room may need:
- Dedicated platform appliance
- Windows-based room computer
- Bring-your-own-laptop connection
- Multi-platform joining capability
Step 3: Choose the Display
The display must be visible from every seat.
Consider:
- Room depth
- Number of participants
- Shared-content detail
- Single or dual-screen requirement
- Mounting height
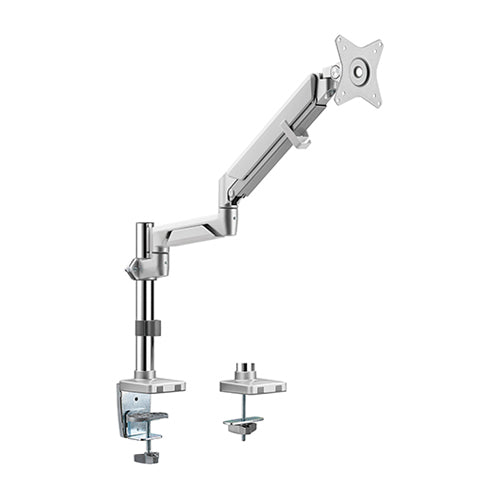
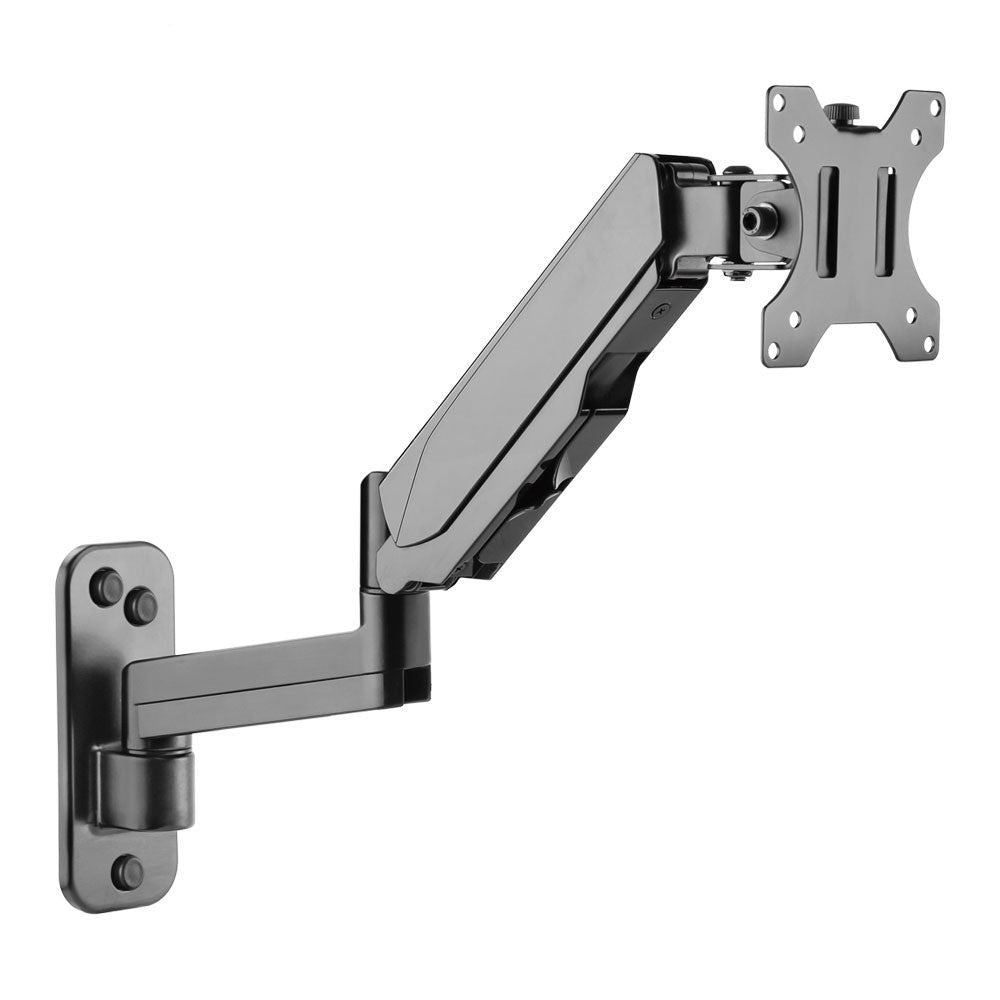
- Wall, floor stand or trolley installation
A dual-screen setup may show remote participants on one display and shared content on the other.
Step 4: Position the Camera
The camera should be close to eye level and should cover all participants without showing excessive empty space.
Check:
- Camera field of view
- Optical or digital zoom
- Distance to the farthest participant
- Table width
- Camera mounting height
- Auto-framing requirement
Step 5: Plan the Microphones
Participants should not need to lean toward a device to be heard.
Possible microphone formats include:
- Video-bar microphones
- Table speakerphones
- Expansion microphones
- Ceiling microphones
- Beamforming microphone arrays
The correct solution depends on room size, table layout and acoustics.
Step 6: Plan the Speakers
Audio should be clear without echo or excessive volume.
Speakers may be built into:
- Display
- Video bar
- Speakerphone
- Dedicated room audio system
Keep microphones and speakers properly configured to reduce feedback and echo.
Step 7: Improve Lighting
Avoid placing the camera directly toward bright windows.
For better video:
- Place light in front of participants
- Avoid strong backlighting
- Use blinds where necessary
- Maintain balanced room lighting
- Avoid harsh shadows
Step 8: Check Room Acoustics
Glass, concrete and hard surfaces can create echo.
Possible improvements include:
- Curtains
- Carpeting
- Acoustic wall panels
- Upholstered furniture
- Ceiling treatment
Step 9: Provide Reliable Connectivity
A wired network connection is generally preferable for a dedicated room system.
Test:
- Bandwidth
- Network stability
- Firewall rules
- Platform access
- Guest meeting access
- Software updates
Step 10: Organise the Equipment
Equipment can be installed:
- Behind the display
- Inside an AV cabinet
- On an equipment shelf
- In a central rack
- On a mobile video conference trolley
Cables should be labelled and kept accessible for maintenance.
Step 11: Make the Room Easy to Use
Employees should be able to start a meeting without technical assistance.
Provide:
- Simple controls
- Clear room instructions
- Calendar integration
- Consistent room design
- User training
- Support contact
Step 12: Test the Complete System
Test:
- Camera framing
- Microphone pickup
- Speaker clarity
- Content sharing
- External guest joining
- Recording where applicable
- Remote control
- Network stability
RIFE Equipment Options
The RIFE VCT01, RIFE VCT09, RIFE VCT-CAB and RIFE VCT09-D dual-screen cart can house the display and equipment for the room types described above.
RIFE can help plan fixed and mobile conferencing systems for offices, training rooms and boardrooms.