How to Measure VESA and Check Display Mount Compatibility
VESA compatibility is one of the most important checks when selecting a TV wall mount, monitor arm, floor stand or mobile display trolley.
This guide explains how to measure the mounting holes and confirm whether a display will fit the proposed support system.
What Does VESA Mean?
Most compatible televisions and monitors have four threaded mounting holes on the rear panel.
The horizontal and vertical distances between these holes form the VESA pattern.
For example:
- VESA 100 × 100 means 100 mm horizontally and vertically
- VESA 200 × 200 means 200 mm horizontally and vertically
- VESA 400 × 400 means 400 mm horizontally and vertically
- VESA 600 × 400 means 600 mm horizontally and 400 mm vertically
Always record the horizontal measurement first.
How to Measure a VESA Pattern
Use a metric measuring tape or ruler.
- Place the display on a safe, padded surface if necessary.
- Locate the four threaded mounting holes.
- Measure horizontally from the centre of the left hole to the centre of the right hole.
- Measure vertically from the centre of the upper hole to the centre of the lower hole.
- Record both measurements in millimetres.
Do not measure from the outside edges of the holes.
What If the Mount Has Several Hole Positions?
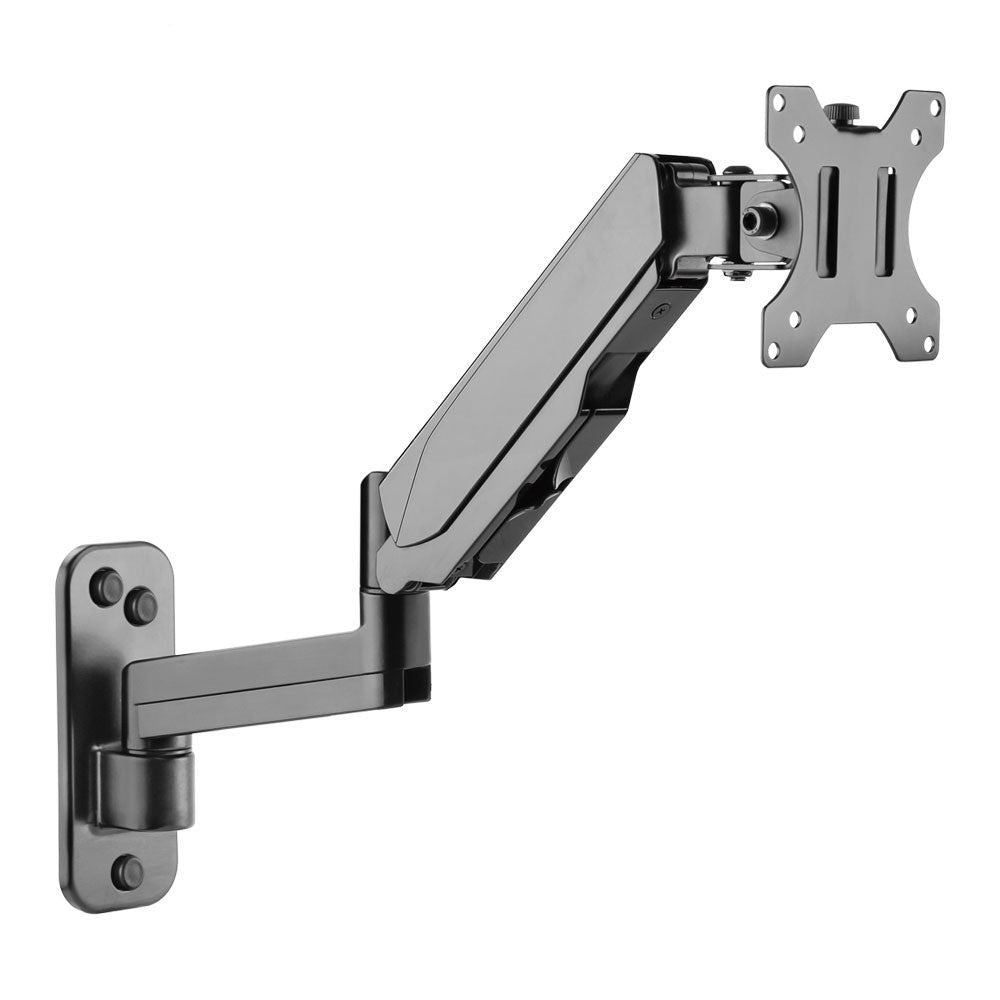
Many universal mounts support a range of VESA patterns.
A bracket may include several slots or holes so it can fit multiple display sizes. Confirm that the required horizontal and vertical spacing falls within the supported range.
The presence of many holes does not guarantee compatibility with every screen.
Check the Display Weight
VESA fit alone is not enough.
The mount must also support the screen’s weight. Check the weight without the original tabletop base unless the manufacturer states otherwise.
Do not exceed the mount’s maximum load.
Check the Mounting-Screw Size
Televisions and monitors may use different screw sizes and thread depths.
The mounting hardware can include:
- Screws
- Washers
- Spacers
- Extension brackets
A screw that is too short may not engage safely. A screw that is too long may damage the display.
Use the television manufacturer’s recommended screw specification whenever available.
Flat and Recessed Rear Panels
Some displays have a flat rear panel, while others have:
- Recessed mounting holes
- Curved rear casing
- Protruding sections
- Uneven surfaces
- Ports close to mounting holes
Spacers may be required to create clearance between the screen and mounting bracket.
Check Whether Ports Will Be Blocked
Before final installation, confirm access to:
- Power
- HDMI
- USB
- Network
- Audio
- Antenna connections
A wall mount with limited clearance may make some rear-facing ports difficult to reach.
VESA for Monitors
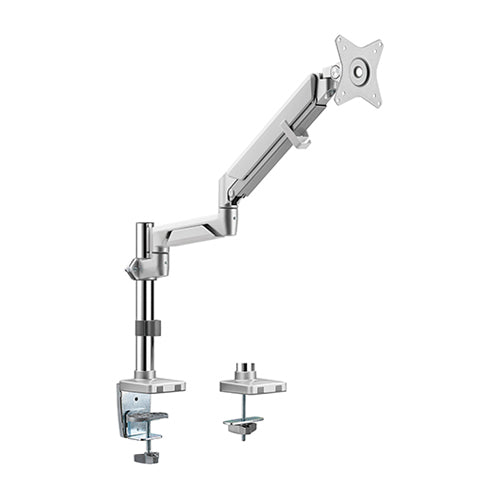
Smaller computer monitors commonly use more compact VESA patterns. Monitor arms must also be checked for:
- Screen weight
- Screen quantity
- Desk-clamp suitability
- Gas-spring adjustment range
- Portrait or landscape orientation
The weight of the screen without its original base should remain within the arm’s rated range.
VESA for TV Trolleys and Floor Stands
For a TV trolley or floor stand, confirm:
- VESA pattern
- Display weight
- Screen dimensions
- Final mounting height
- Centre of gravity
- Compatibility with shelves or camera trays
A large screen may technically fit the bracket but still be unsuitable if it exceeds the stand’s overall load or width limits.
Common Compatibility Mistakes
Avoid:
- Selecting only by screen size
- Estimating the VESA pattern without measuring
- Ignoring screen weight
- Using unsuitable screws
- Blocking ventilation or ports
- Assuming every universal mount fits every television
- Installing on an unsuitable wall
Information to Share with RIFE
For a compatibility check, provide:
- Display brand
- Exact model number
- Screen size
- Screen weight
- VESA measurement
- Photograph of the rear panel
- Required mount type
- Installation surface
This information helps reduce the risk of ordering an incompatible mounting solution.