You have no items in your shopping cart.
-
 Home
Home
-
 Mounting Solutions
-
 Ergonomic Solutions
-
Monitor Mounts
-
Ergonomic Workstation Accessories
-
Sit-Stand Saddle Stools: The Ultimate Solution for Comfort and Flexibility in India

- Salli Dental Saddle Stools
- Ergonomic Chairs & stools ! Saddle Chairs in India:
- Doctor/Dentist Stools I Ergonomic Saddle Stools in India
- Ergonomic Saddle Stool with Back Support, Saddle Seat and Angle Adjustment, Black (R801)
- The Ultimate Guide to Standing Desks: Everything You Need to Know
- The Ultimate Guide to Saddle Chairs
-
Sit Stand Conversion Desks
- Standing Desks
- Laptop Stand
- Privacy screen
- Electric Height Adjustable Desk
- Non-electric Height Adjustable Desk
- Desk Accessories
- Portable standing desk with wheels
- Height Adjustable Standing Desks
- Laptop Desks
- Best Work from Home Desk & Table in India – Optimize Your Home Office
-
-
 Robots
-
Smart Robots
- Office Building Parcel Delivery Robot
- Humanoid Robots
- Temi Robots in India – The Future of AI-Powered Assistance
- Telepresence Robot
- Temi Educational Robot
- Waste Management Robot
- Self Ordering Food Robots
- Residential Apartment Delivery Robots
- Receptionist Robots: Enhancing Customer Service & Efficiency
- Smart Cleaning Solutions with Rife Robotics
- Rife Advertising and Delivery Robots in Shopping Malls and the Retail Sector in India
-
Delivery Robots
- Smart Delivery Robot Solutions for Receptions
- Delivery Robot Solutions in the Telepresence Industry
- Delivery Robot Solutions for Warehousing & Logistics
- HolaBot Delivery Robot for Hospitality
- Hotel Delivery Robot
- Bellabot Restaurant Robot
- Hotel Room Service Robots
- Delivery Robots Restaurants India
- Delivery Robot Solutions for the Corporate Sector
-
Cleaning Robots
-
Hospital Medical Robots in India
- Delivery Robot for Hospital
- Hospital Food delivery robot
- Temi: AI-Powered Hospital Robot Empowering Healthcare with Intelligent Automation
- Intelligent Cleaning robots for Hospitals
- Automated Water Service robots for Hospitals
- Hospital Reception Robots – Enhancing Efficiency & Patient Experience
- Intelligent Cleaning robots for Hospitals
- Temi Robots in India – The Future of AI-Powered Assistance
- Hospital Waste Collection Robot
- Food/Linen Delivery Robot
- Consumables Management Robot
- General Supplies/Materials Delivery Robot
- High Valued Consumables Delivery Robot
- Robot Temi eNurse application
- Hotel Robots in India – The Future of Hospitality Automation
- Restaurant Robots in India – Revolutionizing the Dining Experience
- Robotic Solutions In Various Indutries
-
-
 AI solutions
-
AI Powered Solutions
- AI-Powered Smart Solutions for Shopping Malls & Retail Stores
- AI-Powered Smart Solutions for Stadiums, Airports, Railway Stations, and Museums
- AI-Powered Smart Solutions for Libraries & Research Centers
- AI-Powered Smart Solutions for Event & Exhibition and Conference Centers
- AI-Powered Smart Solutions for Hospitals & Healthcare Facilities
- AI-Powered Smart Solutions for Luxury & Serviced Apartments
- AI-Powered Smart Solutions for Banking & Financial Institutions
- AI-Powered Virtual Assistants for Smart Hotels
- AI-Powered Smart Solutions for Corporate & Business Centers and Government & Public Services
- AI-Powered Smart Solutions for Corporate & Business Centers and Government & Public Services
- AI-Powered Smart Solutions for Real Estate Showrooms
- AI-Powered Smart Solutions for Fitness Centers & Gyms
- AI-Powered Smart Solutions for Supermarkets
-
-
 Computer Carts
-
Computer Carts & trolley
-
Laptop Carts
- AV Carts
- Medical Carts
- Sit Stand Workstations
- Wall Mounted Workstations
- Telemedicine Carts
- Mobile Stand-Up Solutions
- Computer Carts in Corporate Healthcare & Wellness Centers
- Computer Carts in Military & Defense Medical Units
- Computer Carts in Government Health Departments & Public Health Programs
- Computer Carts in Pharmaceutical & Biotech Companies
- Computer Carts for Diagnostic Labs & Pathology Centers
- Computer Carts in Telemedicine & Telehealth Centers
- Computer Carts in Nursing Homes & Elderly Care Centers
- Computer Carts in Corporate & IT Companies
-
-
 Charging Solutions
-
Laptop / Ipad / Tablets Charging Carts
-
School Charging Solutions
- Storage Solutions for laptop ipads tablets
- Charging Stations for Laptops, Tablets, and Phones
- Charging solutions
- Charging Cabinets in India
- Secure Laptop Storage: Cabinets, Lockers & Racks
- Chromebook Charging Solutions
- Smart lockers For Education Industry
- Smart Storage for Schools & Universities
- Smart Lockers with PIN Code & RFID Card
-
-
 Healthcare Solutions
-
Medical Furniture
-
Rife Computer Carts in Hospitals & Multi-Specialty Clinics
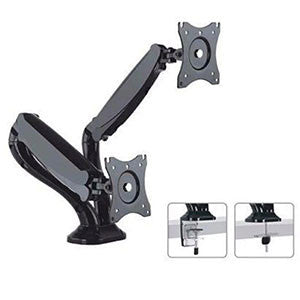
- Computer Carts in Pharmaceutical & Biotech Companies
- Computer Carts in Nursing Homes & Elderly Care Centers
- Computer Carts in Telemedicine & Telehealth Centers
- Computer Carts for Diagnostic Labs & Pathology Centers
- Revolutionizing Healthcare: Benefits, Customization, and Safety of Hospital Computer Carts in India
- Computer Carts in Medical Colleges & Research Institutes
- Smart, Secure Storage Solutions for Hospitals & Clinics
- Smart Storage Solutions for Pharmaceutical Manufacturers
-
-
 Lockers Solutions
-
Smart Lockers
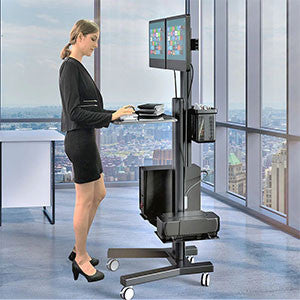
-
Smart Storage Solutions for Energy & Utilities
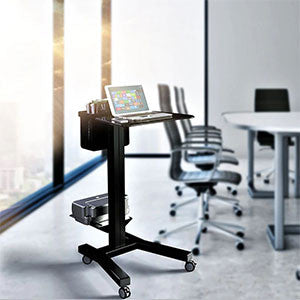
-
Smart Storage Solutions for Corporate Offices & Tech Companies
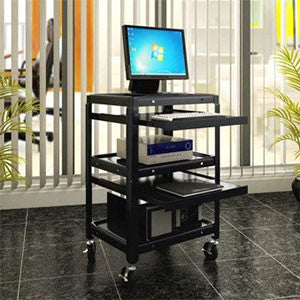
- Intelligent Storage Solutions
- Secure Smart Locker Solutions
- Smart lockers For Education Industry
- Enhancing Corporate & Office Security with Smart Locker Solutions
- Smart, Secure Storage Solutions for Hospitals & Clinics
- Smart Storage Solutions for Pharmaceutical Manufacturers
- Smart Storage Solutions for Luxury & High-End Residences
- Smart Storage for Schools & Universities
- Smart Storage Solutions for Government Offices & Police Departments
- Smart Storage Solutions for Hospitality & Hotels
-
RFID Locker Solutions
- RFID Asset Management for Offices: A Streamlined Guide
- RFID asset management solution for offices
- RFID Card-Based Security Lockers: Libraries and Museums
- RFID Card Recognition Technology in Smart Lockers for Hotels
- RFID card based Security Lockers
- RFID Card-Based Security Lockers: Entertainment Venues
- RFID Smart Library Management vertical workstation
- RFID Card-Based Security Lockers: Gym and Fitness Center
- RFID Card-Based Security Lockers: Industrial or Manufacturing Facilities
- RFID Card-Based Security Lockers: Retail and Showrooms
- RFID Card-Based Security Lockers: Airports and Public Transportation
- RFID Tool cabinets
- RFID file management cabinet
-
-
 Kiosk Solutions
-
Information Kiosk Solutions in India
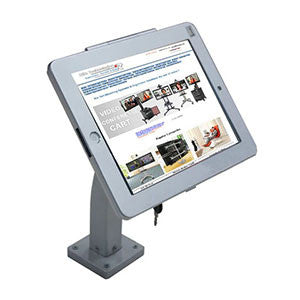
-
Kiosks in India
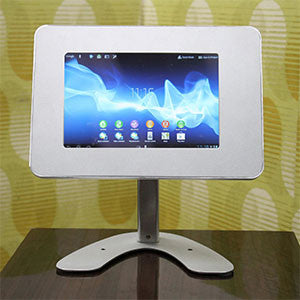
-
Digital Kiosks
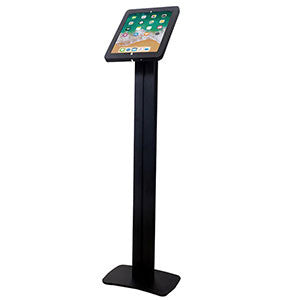
- interactive kiosks
- Kiosk Machines
- LED Kiosks
- RFID Kiosks
- AI Kiosks for Retail
- AI-Powered Self-Service Kiosks for Hospitals
- AI-Powered Self-Service Kiosks for Office Receptions
- AI-Powered Kiosks for Banking & Financial Institutions
- AI-Powered Kiosks for Luxury & Serviced Apartments
- AI-Powered Kiosks for Stadiums, Airports, Railway Stations, and Museums
- AI-Backed Kiosks in Supermarkets
-
-
Buying Guides on our products
- LCD & LED TV Trolley in India: The Ultimate Buying Guide
- The Ultimate Guide to Laptop Trolleys in India: Features, Uses, and Innovations
- Video Wall Stand in India: The Ultimate Buying Guide
- The Ultimate Guide to Standing Desks in Bangalore: 10 Key Categories for Every Need
- Tablet Stands in India: The Ultimate Buying Guide
- 25 commonly asked questions about ergonomics in India,
- 25 commonly asked questions about pain-free working in offices in India,
- 25 commonly asked questions about pain-free working in offices in India,
- Telepresence & Telepresence Robots: Transforming Remote Interactions in India
- Blogs
-
Industry Served
- Retail
-
LED display solutions
- Retail Stores Digital Display Solutions
- Outdoor Naked Eye 3D Video LED Screen Display
- Outdoor Active LED Video Wall
- Future of Visual Experience: Self-Rotating 360 degree LED Display
- Outdoor LED Screen on Cart with Battery Options
- 4㎡ Energy saving led screen solar trailer for 24/7 Operation
- Portable Movable LCD Screen Digital Signage Battery Powered
- Digital LED Poster & LED Banners
- Enterprise
-
Video Conference Solutions
- Crestron Automate VX Pro System Series 2 Voice-Activated, Multi-Camera Switching Solution, (R-IV-SAM-VX2-P)
- Polycom Studio Premium Audio and Video Conferencing System, USB Video Bar Built For small rooms and big ideas
- Large Conference Room Video Conference Solutions India
- Polycom Phone Solutions in India
- Polycom (Poly) Video Conferencing
- Hospitality
- Education
0item(s)
You have no items in your shopping cart.




← Older Post Newer Post →
0 comments